Hi, it’s Blazej,
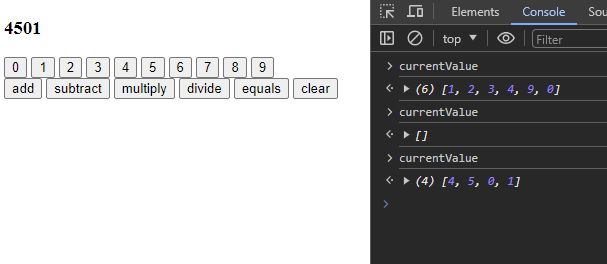
Working on the Calculator Project was quite funny and, I would say, a different experience. Different than Etch-a-Sketch which seemed to be more difficult. How is it possible then?
The answer might not lie in the exercise’s difficulty but in something else, I guess. Let’s start from the beginning.
Starting the Calculator Project
I started working on the Calculator on May 2nd, 2024. The first session took me three hours, during which I managed to set it up and run it. It was around midday, so I decided to make a final commit, have dinner, and work out.
I wanted to code a bit more that afternoon because I knew my friend was coming to visit the next day, and she was staying for three nights.
Like other dedicated Odinists, I didn’t want to take breaks from coding, especially from the Calculator, which I believe is the most important project in Foundations.
Unexpected Inspirations
I was about to turn off my computer when ForrestKnight’s YouTube video popped up. I watched a bit and paused right after he talked about enjoying coding.
I thought this over, and here’s my perspective as a beginner who has just finished coding and still frequently asks myself this question.
The answer isn’t straightforward for someone like me, who has had access to a computer since childhood, played many games, and had a basic understanding of how things work.
However, I had never coded before!
Initial Coding Experience
However, I noticed that the more I code and see it work, the more I enjoy the process. This was especially true with the calculator, which went smoothly overall, and I managed to avoid getting SERIOUSLY STUCK—well, mostly. I’ll touch on that later.
This project felt significantly easier than the Etch-a-Sketch project, where I struggled with implementing gradient color-changing logic for two days. Coding certainly isn’t easy, but for this project, I dedicated about 1.5 to 2 hours each day over four days, and it was a manageable and rewarding experience.
Every time I opened VSCode, I felt very productive, which helped me solve the tasks quickly. The most fascinating thing while working on it was that I could imagine other options that would also solve this exercise.
I felt like a child building some crazy Lego Technic car and imagining what features to add again. Funny feeling.
Enjoying the Process
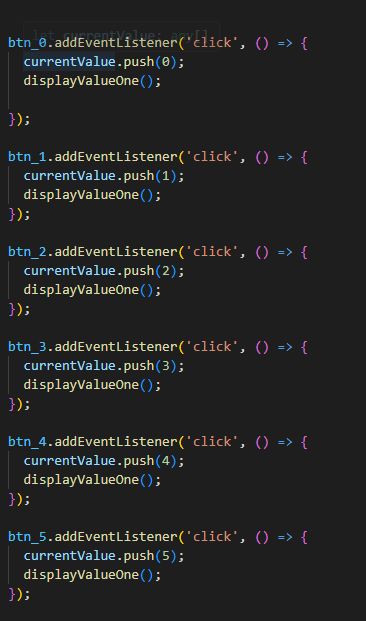
What exactly do I mean by that? I knew I could have created one function with events for all digit buttons instead of making nine separate ones.
However, I forgot how to make it properly and decided to move on with 9 different ones, but I promised myself I would go back and read the documentation provided a few lessons back on how to solve this issue. As I thought I did.
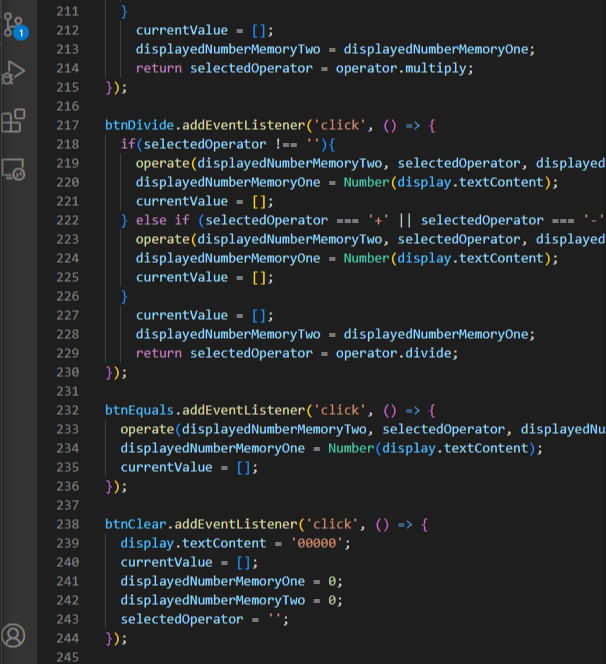
I was anticipating getting stuck on something for another five hours or so, but that never actually happened. I got it working with 244 lines of code.
Challenges With CSS
Now, it was time to start playing with CSS and style this project a little bit. Well, that’s when I got stuck. It seemed to be more difficult than creating JavaScript.
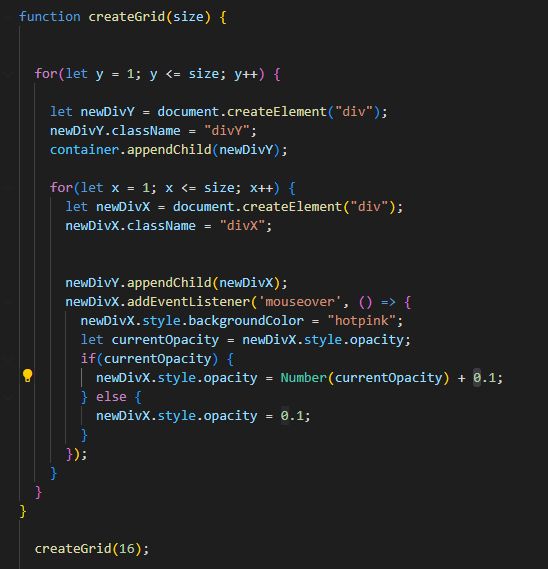
I couldn’t believe it! I knew I needed to use Flexbox for this project, but the buttons looked a bit different than the Etch-a-Sketch I made earlier. In Etch-a-Sketch, I was told to make a grid using loops:
Whenever I get stuck with Flexbox, I always turn to Josh’s blog post. There is no better explanation of how they work, IMHO.
I wasn’t sure, however, if it would work out for a calculator, as not all buttons are equal. I wanted 0 to be larger, for example.
I scrolled down the article because I recalled that CSS Grid was mentioned there. It turned out I would actually need to use it here.
Moreover, the calculator that has been shown as an example by Odin was also designed using CSS Grid.
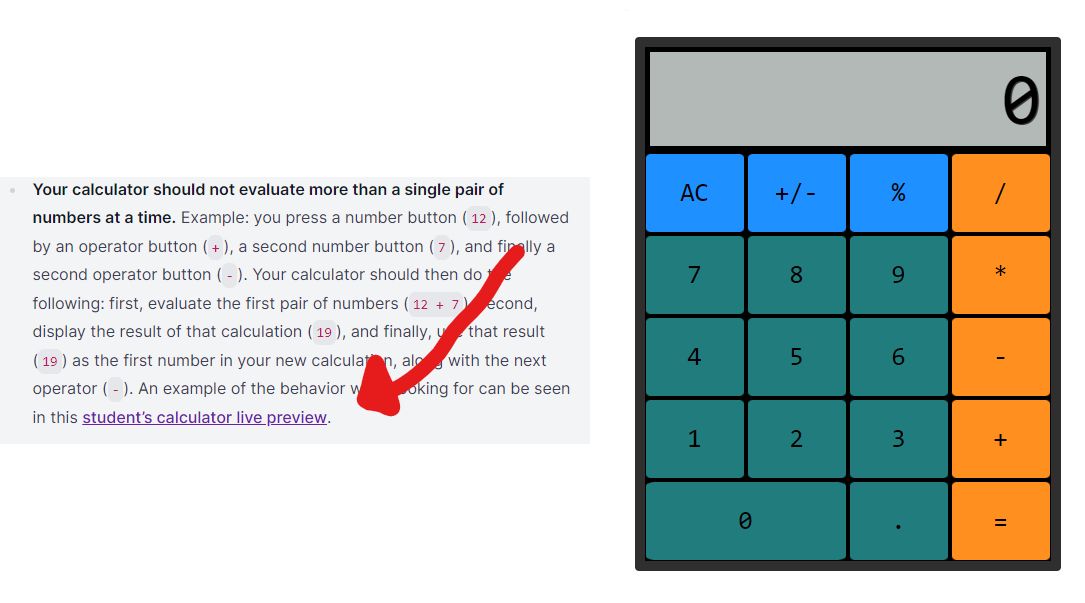
Discovering CSS Grid
At this point, I was a little bit lost because, as I remember, we didn’t touch the grid at all.
I began to google it up. What did I find? A large article with quite an advanced explanation of how to use it. I thought it wasn’t time for that and assumed that we would be introduced to the grid at a later time.
On top of that, there was only Flexbox mentioned in the exercise sooooo yep, I HOPE we will learn grid too. If not, I will come back to it at some point by myself.
LITTLE UPDATE - the next day, I saw this post on Odin Discord:
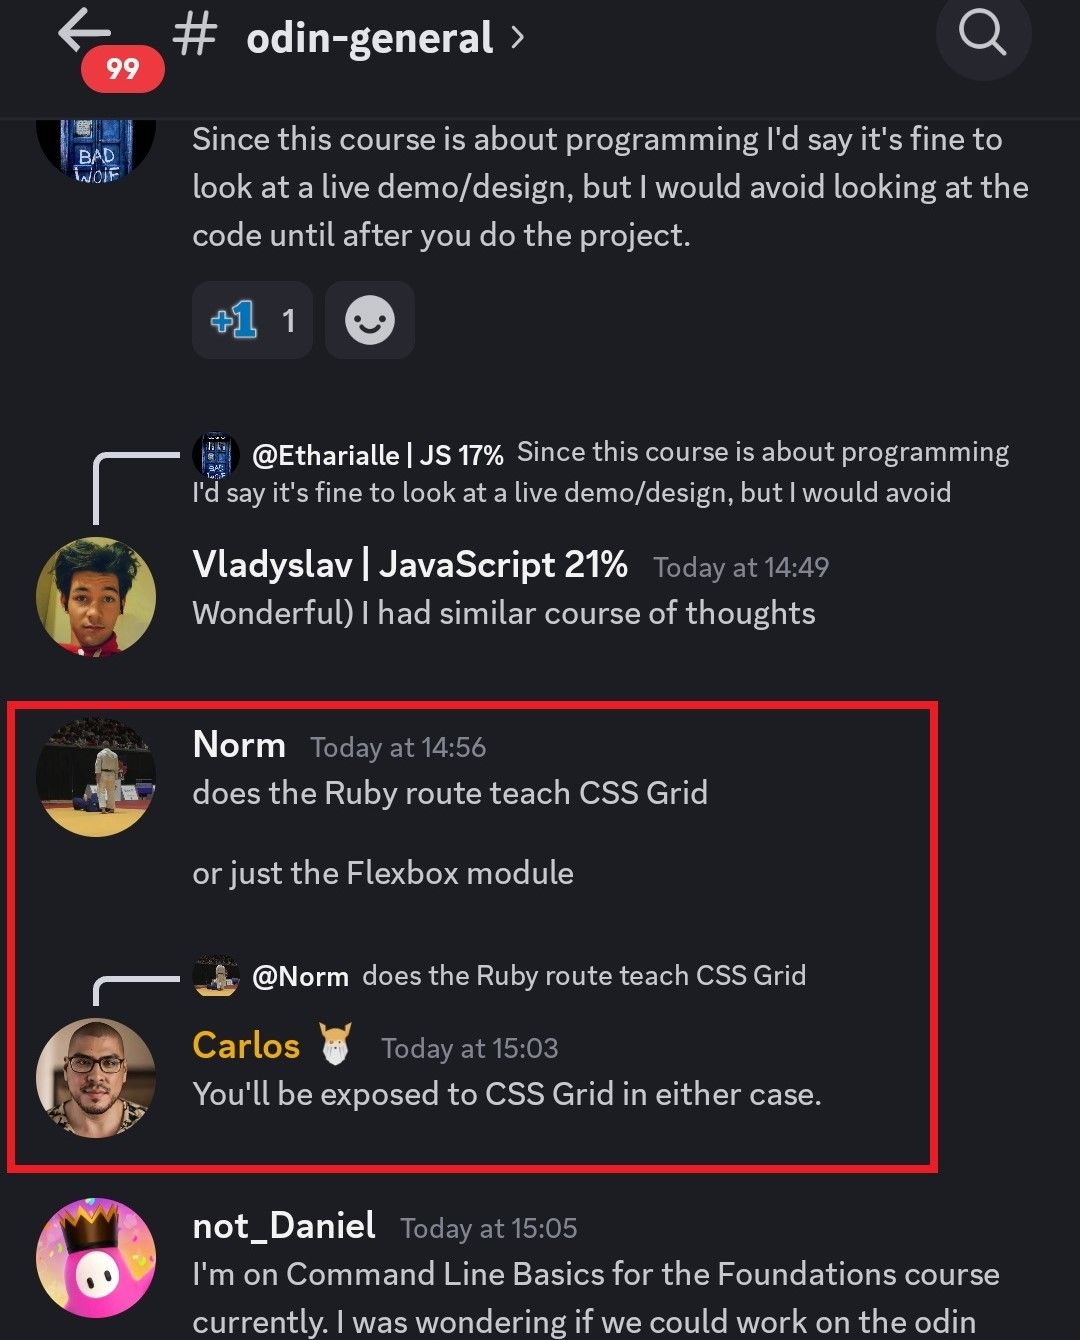
Final Adjustments and UI Design
I decided to go with a couple of divs and just regroup the buttons in HTML
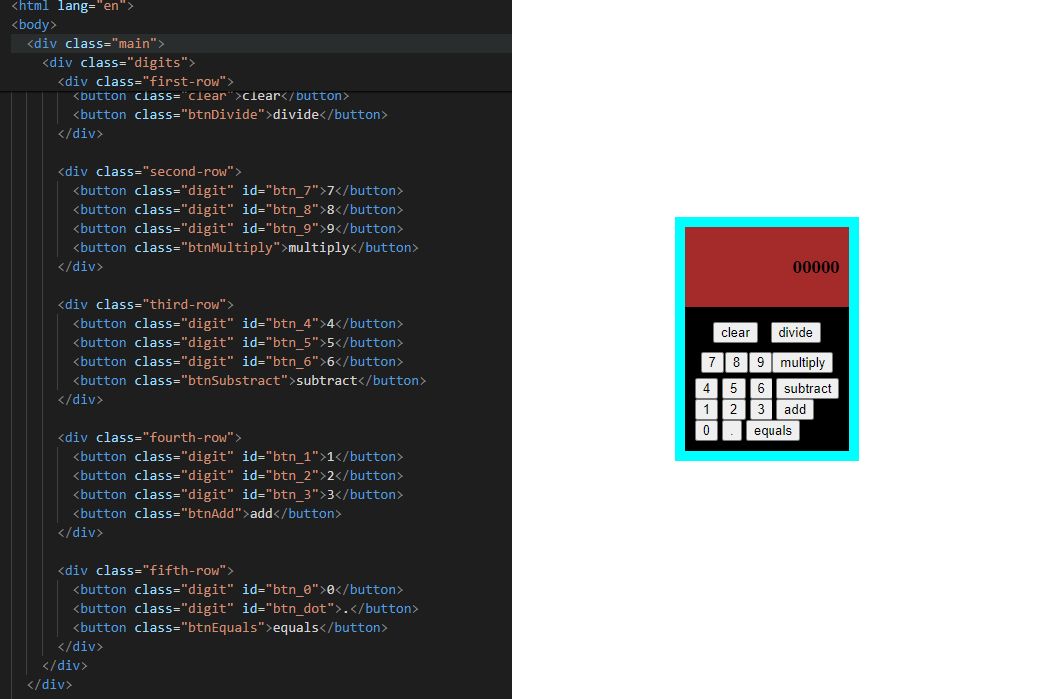
After another study session, the calculator looked somehow familiar to a normal device.
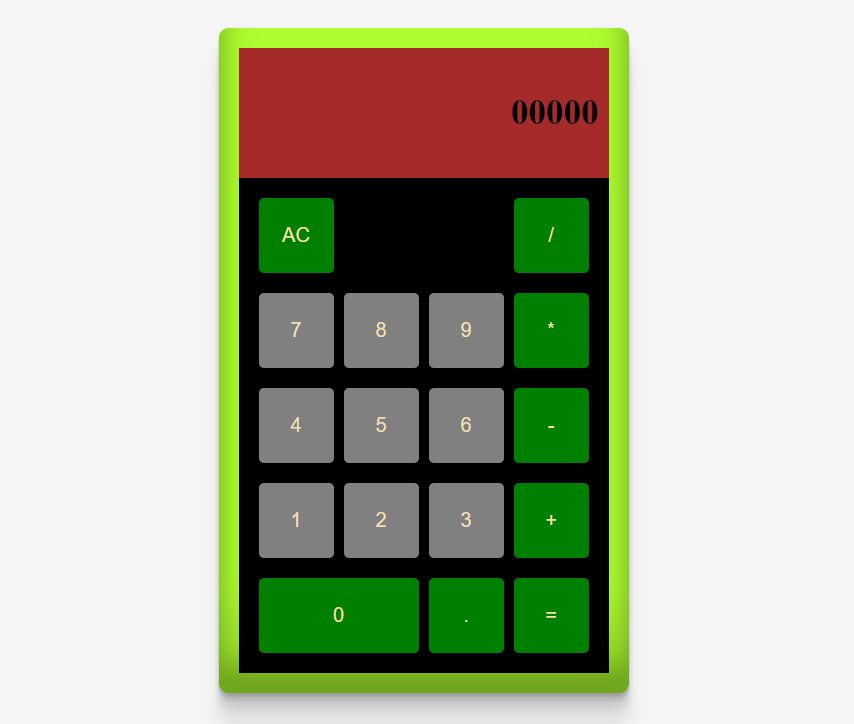
Adding Keyboard Support
The last step for me was to make keyboard support.
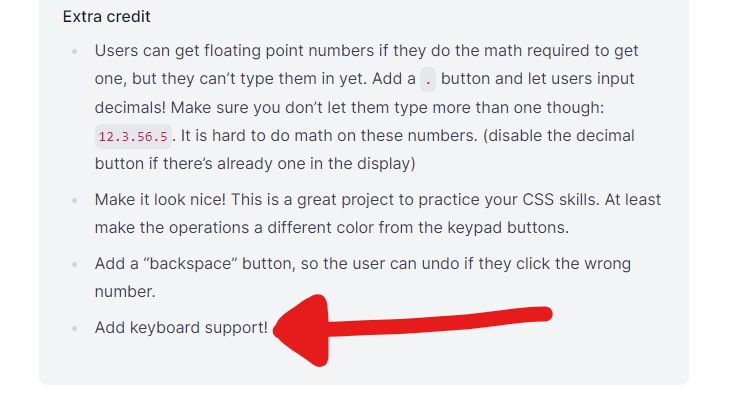
Bloody hell! That wasn’t easy, and I had to go back to the event lesson and read through the documentation several times to understand how these keyboard keys work.
It was quite tough, as event bubbling was confusing me. It was the right moment to make 1 function that would click buttons and 2 calls for it. One for a mouse ‘click,’ and the second for a keyboard ‘keydown.’
I managed to sort all digits and equals buttons but decided not to go with operators as I would have to change my logic with the operator’s object.
This setup seems easier to grasp if I need to review it later.
However, I might be wrong, so don’t take it for granted.
The finished project can be seen here:
Reflections and Lessons Learned
What was the lesson here? I enjoyed the process of making an app and designing it and learned A LOT about events. I would highly recommend you go through the extra credit process with this one!
If you enjoyed this story and found the tips helpful, follow me on Twitter for more updates and coding tips. I’d love to hear about your own coding challenges and successes in the comments below!
